Congratulations on taking the first step towards a straighter smile with clear aligner treatment! Clear aligners are a popular alternative to traditional braces, and they offer a number of benefits, including being more discreet, comfortable, and convenient.
In this blog post, we will provide you with some basic instructions on how to begin your clear aligner treatment:
Wearing Aligners:
IMPORTANT DISCLAIMER: Clear aligners can only straighten teeth if you wear them. Your aligners must be worn 20-22 hours per day, except when eating and brushing. That means you only have 2-4 hours to allocate for brushing/flossing, meals, snacks and beverages other than water!
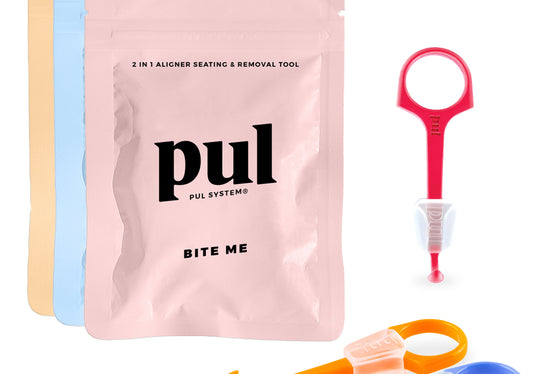
Placing Aligners Correctly: Gently line the aligners up with your teeth and then snap them into place with your fingers and bite them into place with an aligner seater such as the BITE ME, 2 in 1 Aligner Seating and Removal Tool. Do not bite your aligners into place without a cushion (you’ll hurt your jaws!). Read more here on proper aligner seating.
Pressure and Tightness: You may notice that at first the aligners fit tightly and there will be a feeling of pressure on your teeth. This is normal and a sign that the aligners are working! To relieve this pressure, use your aligner seater or BITE ME- it’ll feel like a massage to your gums and help reduce soreness that is typically caused by new aligners.
Food/Drink: Please remove your aligners for every type of food or drink except for water. You may drink cold to room temperature water with the aligners in place. Hot liquids could soften and warp the aligners and sugary drinks should be avoided while wearing the aligners as they will hold the material next to the teeth for prolonged periods of time, increasing the risk of dental cavities. After each meal, brush/ floss and resume wearing the aligners.
Do not chew gum (even sugarless) or smoke if the aligners are in your mouth. Smoking with aligners? Check out our blog on this topic.
Speech: Some patients may notice a slight lisp when they first begin wearing aligners. The reason why is because your tongue is used to touching the back of your teeth when talking, so the lisp is caused from the new friction between your tongue and the clear aligner. NOT TO WORRY! Your mouth muscles will quickly adjust to the new aligners, and the lisp will go away. The easiest way to get rid of the lisp ironically is to keep talking!
Dry/Wet Mouth: Everyone reacts differently when they first start aligner treatment. Some patients mention that they have an excess amount of saliva and need to swallow more frequently. Others may experience “dry mouth” at the start of treatment and will need to drink more water than usual. The human body is amazingly adaptable however, and usually only requires a short time before wearing aligners feels normal.
Cleaning: Clean your aligners gently with a stiff brush (toothbrush is fine, but won’t always remove sticky buildup) and toothpaste, or FIZZ ME Daily Aligner Cleansing Tablets at least two times per day (morning/night). Use cool water to rinse and never use hot water or boiling water to clean your aligners or else they will warp or melt.
You may also use a clear, non-colored mouthwash to rinse the aligners. Certain toothpastes/ colored mouthwash can cause aligners to discolor.
Roughness: If any part of your aligner is rough, feel free to use a clean nail file or piece of sandpaper to smooth the edge. Please contact your dental office if you feel that part of the aligner plastic needs to be cut off with scissors.
Aligner Seating Tools:
Your dentist may provide you with an aligner seater, such as the BITE ME, 2 in 1 Aligner Seating and Removal Tool, a rubbery cushion that helps to seat the aligners to ensure proper fit.
Daily Use: We recommend that patients use daily throughout treatment for 10-15 minutes, either all at once while hanging out or watching TV, or for 2-3 minutes after each meal so that the chew time accumulates to 10 minutes. Your dentist will let you know if more use is recommended, based on your dental monitoring scan or how well your aligners are tracking at your next office visit.
Chew Time: To properly seat your aligners, bite down and around in a continuous motion, from one corner of your mouth to the other.
Goal: The goal of using aligner seaters is to firmly, and evenly set the aligner around each tooth so that the orthodontic movements programmed into each tray can fully be expressed. Aligner seaters can be used multiple times – rinse with water after each use or drop into your FIZZ ME Aligner Cleansing Tablets solution to clean them, and store them in your aligner case or a safe place.
Changing Aligners:
Your dentist will advise you on how often to change your aligners during an office visit or via your weekly dental monitoring scan, most instances are 7-10 days.
Aligner Tracking: During your visit or scan, your dentist will determine if your teeth are tracking or not. If your teeth do not appear well-seated in the aligner tray, you may not be ready to move onto the next set, and will be advised to continue to wear the current set.
Order Sequence: Aligner movements are very precise and the trays must be worn in sequence. Each aligner is numbered, (#1, #2, etc.) - do not skip or go back to an earlier tray unless you get approval from your dentist.
Save your aligners!: Once you are done with a set of aligners, save them in their numbered bags. In case you lose an aligner, your dentist may have you back track or move onto the next aligner, so keep all of your aligners until your dentist says that it is okay to discard them. Please call your dentist for instructions specific to your treatment for your next step.
Keep your aligners safe:
When you’re not wearing your aligners because you’re eating, drinking, store your aligners in the case you were provided. Label the cases with your name and phone number, in case they are misplaced.
If you lose your case, or need a new one, try PUL’s CARRY ME, Clear Aligner Cases.
NEVER: Never wrap your aligners in a paper towel or napkin, as it is likely to be thrown away. This has happened countless times, and it’s not worth the risk of delaying your treatment no matter how responsible you are.
Keep aligners away from pets because they love anything that smells/tastes like their owners.
Keep your aligners out of direct sunlight or extreme heat (ie. hot cars, near a heater or fireplace).
Attachments
In order to perform certain tooth movements, it may be necessary to bond tooth-colored attachments to several of your teeth. These are usually added at aligner #1, and they are easily polished off at the end of treatment.
Discoloration: Attachments can discolor or stain if you don’t brush after drinking colored liquids such as coffee, tea red wine, etc. Don’t forget to brush your teeth above, below, and all sides of the attachments.
Aligner Removal with Attachments: You’ll typically practice the removal of the aligners at your first appointment. We always told our patients to remove their aligners from the lingual towards the molar. If you are still having difficulties with aligner removal, tools such as the PUL ME, Original Aligner Removal Tool or the BITE ME, 2 in 1 Aligner Seating and Removal tool were designed to help with these common patient problems.
Missing Attachments: Although uncommon, if an attachment falls off between visits, you do not need to come in to have it replaced but call your dental office to let them know at which tray it fell off, and the location. Use the guide below to help identify the location of the lost attachment. Your dentist will typically rebond the lost attachment at your next appointment.
IPR (Interproximal Reduction)
In order to create the space needed to correct crowding your dentist may prescribe IPR as part of your treatment plan.
Filing Teeth: It sounds scary, but it is very normal and a routine part of clear aligner treatment. Your dentist will file in between your teeth with a metal strip or disk to create up to a quarter of a millimeter of space per tooth surface. It’s about the thickness of a few pieces of paper, and is generally not even noticeable. Reducing the friction between tight teeth helps facilitate movement.
Preparing for IPR: the sounds and vibrations can feel like a lot, but this part of your treatment usually only takes a few seconds per tooth. Still anxious? Bring your ipods and pump up some music to distract you.
Comfort: Keep in mind the first 2-3 weeks is an adjustment period as your mouth adapts to the aligners. Use your BITE ME to relieve soreness, massage your jaws to relieve the tension or place a hot compress. It is normal to feel discomfort with each new tray because, well, we’re moving teeth here!
Elastics
Your dentist may prescribe you to wear elastics during your aligner treatment to accomplish tooth movements that the aligners alone cannot do.
Elastic Prep: If elastics are needed, your trays will have a custom hook carved out of the aligner itself, and your dentist will bond a small metal or ceramic hook as a second anchor point on the back teeth. Specific instructions of elastic wear will be given to you by your dentists if you require this step in treatment.
Wearing Elastics: Just like how your clear aligner needs to be worn to straighten your teeth, your elastics need to be worn in order to correct your bite or continue to straighten your teeth. This is the part many patients slack on, and it can cause your treatment to be delayed if you do not wear your elastics!
Appointments:
Be sure to keep your scheduled appointments- regular visits are necessary to track progress, avoid treatment delays and keep your treatment on schedule.
Bring to every appointment: Always wear your aligner to your appointment.This is how your dentist can track your treatment progress. If you don’t have your aligners with you when you come in, your dentist may not be able to see you (because, what’s the point) and you will need to reschedule your appointment.
Emergencies: Emergencies involving Invisalign or clear aligners are rare, however, if you have a true emergency and need immediate attention (facial trauma/swelling/severe pain), call your dentist right away. Non-emergency situations can be phoned in on the next business day or emailed.
Be prepared for change:
New Routine: It might take some time to get used to your clear aligner routine. You’ll have to remember to make time for brushing and flossing your teeth after each meal, snack or sugary beverage, and of course the most important part: wearing them! Not wearing your aligners can cause delays in your treatment and patient burnout. After hearing hundreds of our patients complain about adjusting to their new routine, we created tools and accessories to help make this transition easier.
I hope that this blog post has provided you with the basic instructions on how to begin your clear aligner treatment. If you have any questions, please do not hesitate to contact your orthodontist.
Happy PULing!
Jannet
 BITE ME - PUL System 2 in 1 Aligner Chewies & Removal Tool
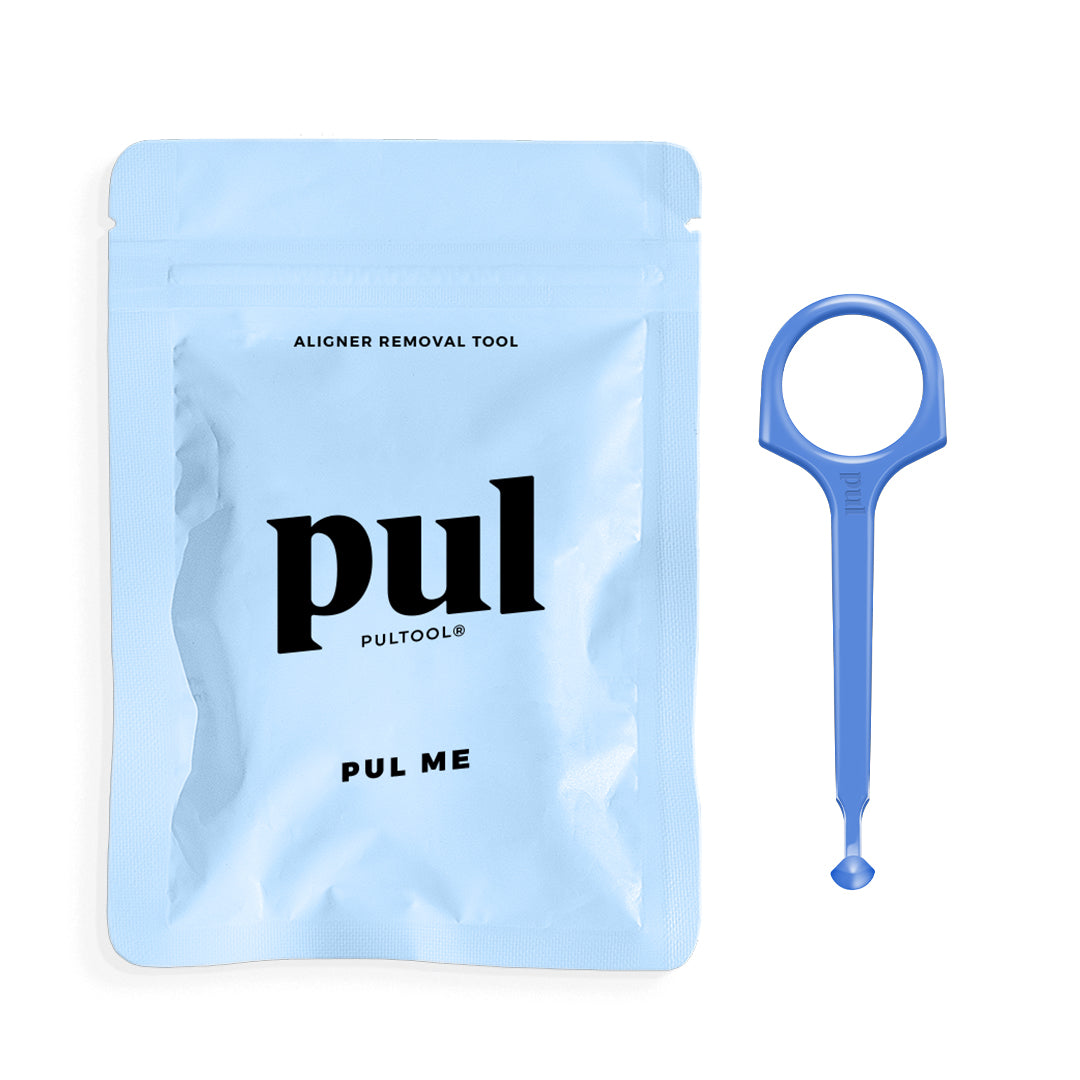 PUL ME - PULTOOL Aligner Removal Tool
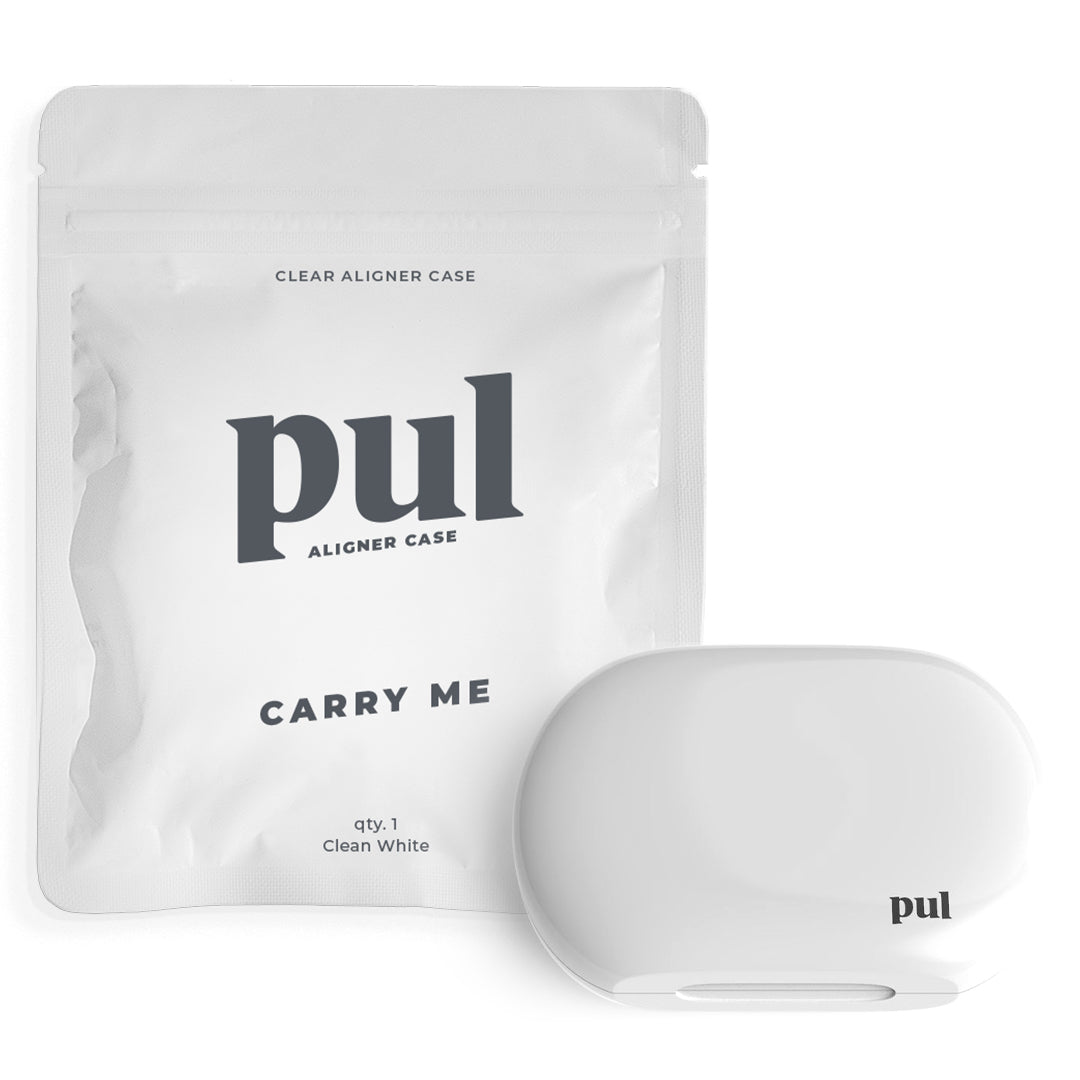 CARRY ME - Aligner Case
 FIZZ ME - Aligner Cleansing Tablets
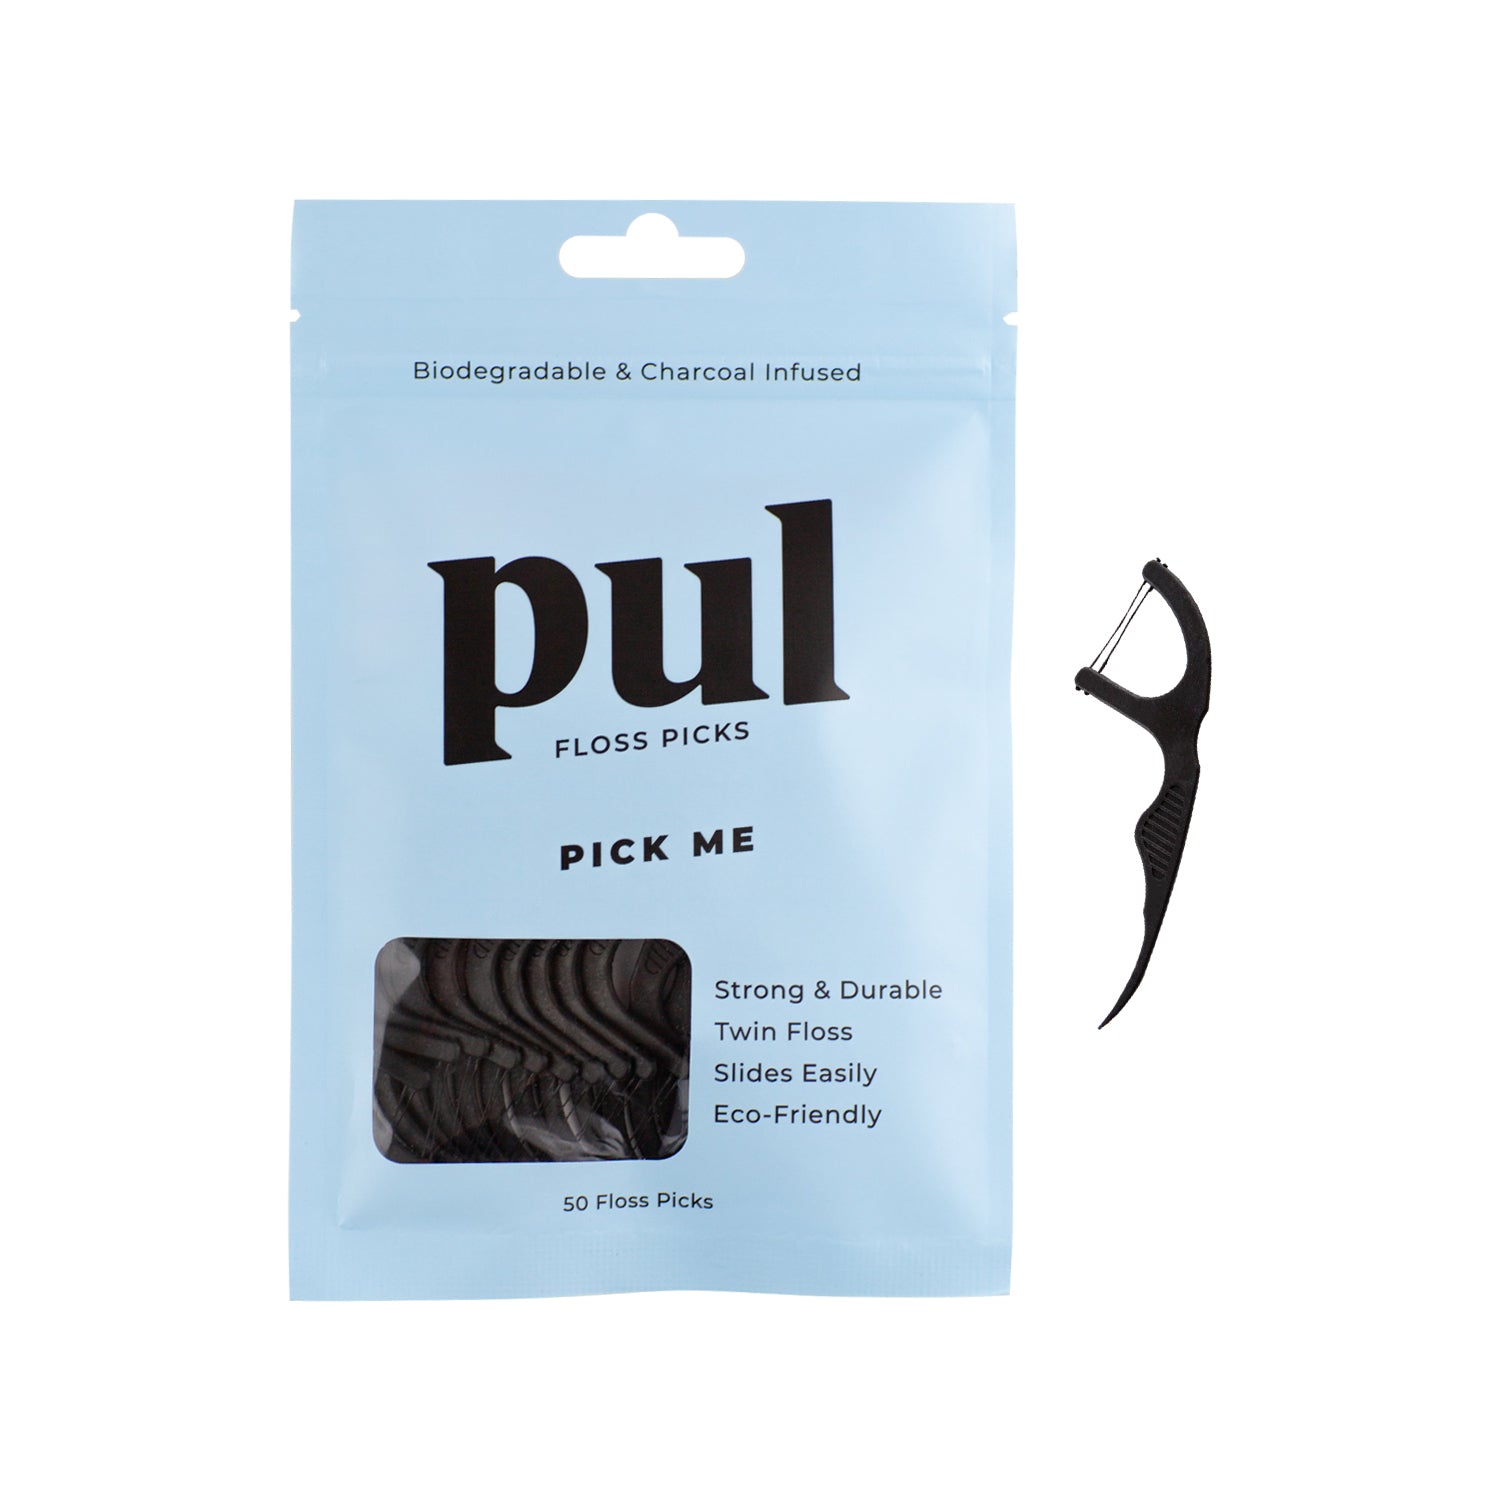 PICK ME - Biodegradable Floss Picks

